




























![1+1 FREE | FineSlice™ - Cuts What Scissors Can’t [Offer Ends Today]](http://quanolo.co.uk/cdn/shop/files/d210079baefb8baec1578f1fec4170f982c0ff80d45b958c27cedc5cde9018c7-500.gif?crop=center&height=475&v=1745786035&width=475)










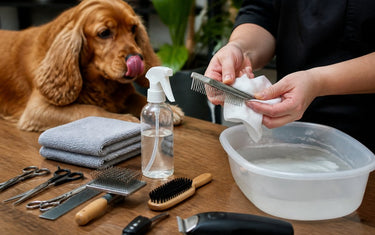
Table of Contents
- Essential Supplies for Maintaining Pet Grooming Tools
- Daily Maintenance Routine for Pet Grooming Tools
- How to Clean Dog Grooming Clippers
- How to Disinfect Grooming Tools
- When to Replace Dog Grooming Tools
- Proper Storage and Rust Prevention
- Troubleshooting Common Tool Malfunctions
- Frequently Asked Questions
Last Updated: September 10, 2026
Essential Supplies for Maintaining Pet Grooming Tools
Most clippers and brushes don't wear out, they're neglected into failure. Hair, moisture and skin oils do the damage, and a small kit prevents all three.

You need six things, and none of them are expensive:
- Blade wash or a mild pH-neutral soap for dissolving oils and trapped hair
- Blade oil designed for clippers, not general-purpose household oil
- Coolant spray to manage blade temperature during longer sessions
- A stiff nylon brush for clearing debris from cutting teeth
- A pet-safe disinfectant that is safe for contact with animal skin
- A sealed storage case to keep moisture and dust out
Skip household cleaners: kitchen spray and alcohol wipes strip blades' protective coating and invite corrosion.
Daily Maintenance Routine for Pet Grooming Tools
A two-minute routine after every session does more for longevity than any deep clean: wipe, brush, oil, store.
Here's the order that works:
- Brush loose hair from all cutting surfaces while the tool is still warm
- Wipe the housing with a barely damp cloth, never wet
- Apply two or three drops of blade oil along the cutting edge
- Run the clipper for five seconds to distribute the oil
- Store in a dry place, not a sealed bathroom cabinet
Scissors need a dry wipe and a drop of oil at the pivot screw. Brushes need the most frequent attention, since hair at the bristle base reduces effectiveness within a few uses.

A maintenance schedule keeps this honest:
| Task | Frequency | Time Needed |
|---|---|---|
| Brush out hair and debris | After every session | 2 minutes |
| Oil blades and pivot points | After every session | 1 minute |
| Full blade wash and disinfect | Weekly, or every 5-7 grooms | 10 minutes |
| Inspect for wear and rust | Monthly | 5 minutes |
| Deep clean and sharpen check | Every 3 months | 20 minutes |
How to Clean Dog Grooming Clippers
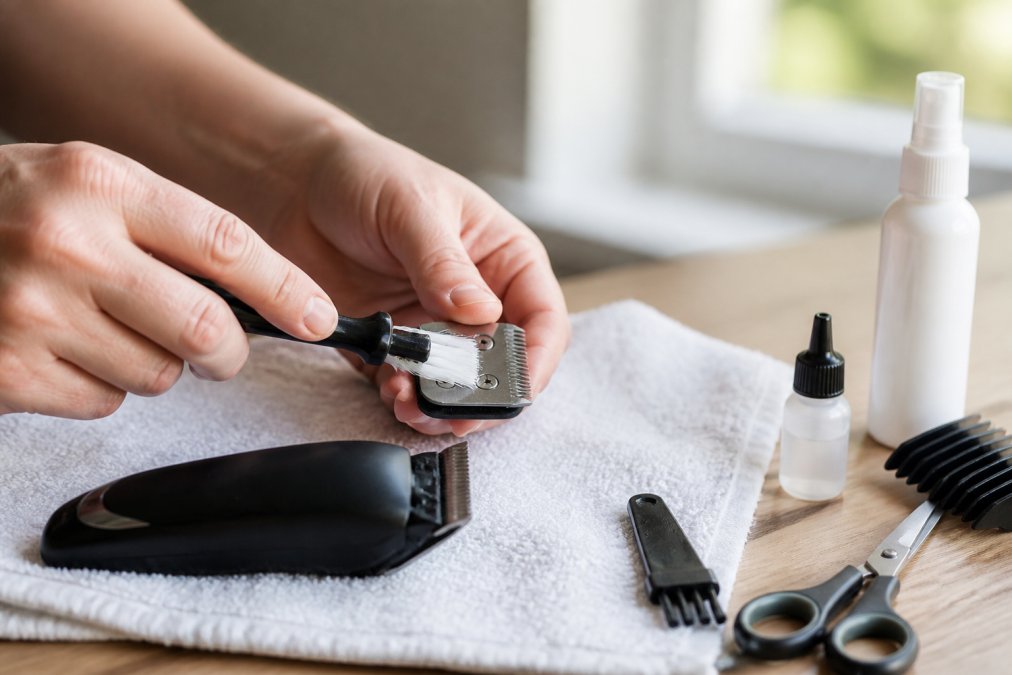
Cleaning dog grooming clippers means removing the blade, washing it in dedicated solution, drying it completely, and re-oiling before reassembly. Rushing the drying step is the most common cause of rust: moisture sits in the gap between cutter and comb.
Step-by-Step Blade Cleaning
- Switch off and unplug the clipper, then let the blade cool for two minutes. A warm blade holds residue more stubbornly.
- Remove the blade per the manufacturer's instructions. On snap-on systems this is a firm push against the blade release; on screw-fit models, keep the screws in a small dish.
- Brush hair from the teeth with a stiff nylon brush, working from the base outward, brushing inward pushes debris deeper.
- Soak the blade in blade wash for five to ten minutes. Blade wash lifts the oil-and-hair paste between cutting surfaces; general-purpose soap leaves a film that attracts debris.
- Rinse under lukewarm water and shake off excess, hot water can warp blade coatings, cold water doesn't rinse oil cleanly.
- Dry with a lint-free cloth, then air dry for ten minutes. The air-dry window matters more than the towel step: it lets moisture evaporate from the internal channel.
- Re-oil the blade before refitting it. Oil on a dry blade spreads evenly; oil applied after refitting pools at the teeth and misses internal surfaces.
Never submerge the clipper body, water gets into the motor housing and blade drive. If the housing needs attention, wipe it with a barely damp cloth and dry immediately.
What to Do When a Clean Doesn't Fix the Problem
A blade that still drags after a full clean usually has one of three issues, and each has a different fix:
- Hair packed under the cutter comb. The visible teeth look clean but the layer beneath is still full. Soak longer, then work the brush at an angle into the gap rather than straight across the teeth.
- A blunt edge. Cleaning restores hygiene, not sharpness. If the blade snags on a fingernail test or folds hair instead of slicing it, it needs sharpening or replacement.
- A worn blade drive. The blade is fine but the mechanism that moves it is slipping. You'll hear a change in pitch and see the blade stutter rather than run smoothly.
Lubrication and Coolant Sprays
Blade oil reduces friction between cutting surfaces, lowering blade temperature and keeping the cut clean. Apply a thin line across the teeth, not a flood, excess oil attracts hair and dust that gums up the mechanism.
Coolant spray is for use during grooming, not after. On longer coats, blades heat up and drag or burn the skin; a quick spray every few minutes keeps the temperature down. For a thick double coat, keep coolant within reach.
Rule of thumb: oil before the session, coolant during it, a full wash after it. Mixing those up is how blades end up both greasy and dull.
How to Disinfect Grooming Tools
Disinfecting grooming tools means killing bacteria and fungi on surfaces that contact animal skin, and it matters most between pets. Sanitisation is the routine version; sterilisation is a higher standard used mainly in veterinary settings.
Sanitisation Between Appointments
Between pets, wash tools first, then disinfect. Disinfectant doesn't work on dirty surfaces, because organic matter shields bacteria from it.
- Remove all visible hair and debris
- Wash with warm water and mild soap
- Apply a pet-safe disinfectant and leave it for the contact time on the label
- Rinse thoroughly, especially on anything that touches skin
- Dry completely before the next use
The contact time is the step people skip. A quick spray and wipe does very little. If the label says five minutes, it means five minutes.
Eco-Friendly Cleaning Alternatives
For routine cleaning, white vinegar diluted one part to three parts water cuts oils and mineral residue, and bicarbonate of soda makes a gentle abrasive paste for stubborn metal buildup.
Two caveats: vinegar is acidic, so don't leave blades soaking in it, and it isn't a disinfectant on its own, so you still need a pet-safe product for cross-contamination control.
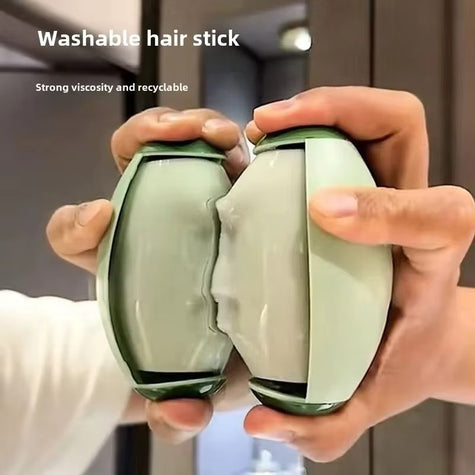
For household cleanup after a grooming session, a reusable lint roller makes short work of the hair that ends up on sofas, bedding and clothing, and it rinses clean rather than filling a bin with adhesive sheets. The StickyClean™ Reusable Lint Roller is a practical addition to any grooming kit for exactly this reason.

When to Replace Dog Grooming Tools
Replace dog grooming tools when cleaning, oiling and sharpening no longer restore performance: for clippers, a failed blade drive or a motor that overheats within minutes; for scissors, a cut that folds hair instead of slicing it, even after honing.
Signs of Wear and Tear
Watch for these, and act early rather than pushing tools through another few months:
- Dull edges that pull or snag instead of cutting cleanly
- Excessive blade temperature that coolant spray no longer controls
- Visible corrosion or pitting on blade surfaces
- A slipping or noisy blade drive
- Loose tension adjustment that won't hold a setting
- Bristle loss or bent tines on brushes and combs
Sharpening vs. Replacing
Sharpening is worth it for quality scissors and shears, which can be honed several times over their working life; a service costs far less than a replacement pair.
Clipper blades sit in a middle ground. Some are sharpenable; many consumer-grade blades are designed to be replaced. Check the manufacturer's guidance first. If a blade has visible rust or pitting, sharpening won't fix it, because the corrosion has already compromised the metal.
Brushes and combs are rarely worth repairing. Once bristles splay or tines bend, replacement is the practical answer.
Proper Storage and Rust Prevention
Rust prevention comes down to three things: dryness, airflow and separation. Store tools clean and completely dry, in a case that isn't airtight, away from damp surfaces.
A damp cloth left in a sealed case is the worst combination: moisture gets trapped, condenses on cold steel overnight, and rust spots appear within a week (nps.gov). If your case has a foam insert, check it periodically, foam holds moisture long after tools feel dry.
Practical rules that hold up:
- Air dry every tool fully before it goes in the case
- Use a case with a desiccant sachet, replaced every few months
- Keep scissors in a protective sheath so the edges don't knock against other tools
- Store away from bathrooms, kitchens and anywhere with fluctuating humidity
- Never store blades with oil pooled on them; a thin film only
Long-Term Storage for Seasonal Groomers
Most guides assume daily use, leaving seasonal groomers, who pack the kit away for months, with no real advice. Long-term storage is a different problem: the failure mode isn't a week of damp air, it's months of slow condensation and oil drying out.
The routine that works:
- Clean everything as if you were putting it away for good. Hair or skin oil left on a blade becomes a moisture trap over months.
- Oil the metal surfaces properly, not sparingly. A thin film is right for daily storage; for months of inactivity, a slightly heavier coat on the blade and pivot points is the safer choice, because the oil will slowly migrate and dry.
- Remove the blade from the clipper. Don't store clippers with the blade fitted under tension for months, the blade drive sits compressed and can lose its spring. Oil the blade separately, wrap it, and reassemble when you next need it.
- Store in a sealed container with fresh desiccant. Silica gel sachets are cheap and effective; replace them at the start of each season rather than trusting last year's.
- Check the kit once a season. Open the case, inspect for any bloom of surface rust, re-oil, and replace the desiccant. Ten minutes twice a year is the whole commitment.
A few specifics that catch people out:
- Scissors and shears should be stored with the blades closed and in a sheath, and given a drop of oil at the pivot screw before storage. Leaving them open invites knocks that misalign the edges.
- Brushes and combs should be washed and fully dried before storage. Natural bristles can harbour mould if packed damp, and mould is far harder to remove than the hair you were trying to get rid of.
- Coolant and blade wash should be stored upright with the caps tight, away from direct sun. Heat degrades the propellant in coolant cans and can cause them to lose pressure over a long off-season.
- Anything with a rechargeable battery should be stored at roughly half charge rather than full or empty, and topped up once mid-season. Leaving a battery flat for months is one of the more common causes of a clipper that won't hold charge the following year.
Troubleshooting Common Tool Malfunctions
Most clipper and brush problems trace back to maintenance, not manufacturing defects.
| Symptom | Likely Cause | Fix |
|---|---|---|
| Clipper pulls or snags hair | Dull blade or hair packed between teeth | Deep clean, then sharpen or replace |
| Blade gets hot within minutes | Insufficient lubrication or worn blade drive | Oil properly; inspect drive for wear |
| Clipper cuts unevenly | Loose tension adjustment or bent blade | Reset tension; replace blade if bent |
| Motor runs but blade doesn't move | Failed blade drive or stripped gear | Replace the blade drive assembly |
| Rust spots appear quickly | Stored damp or stored with wet hair | Dry fully, add desiccant, store open |
| Brush leaves hair behind | Bristles splayed or packed at the base | Deep clean; replace brush if splayed |
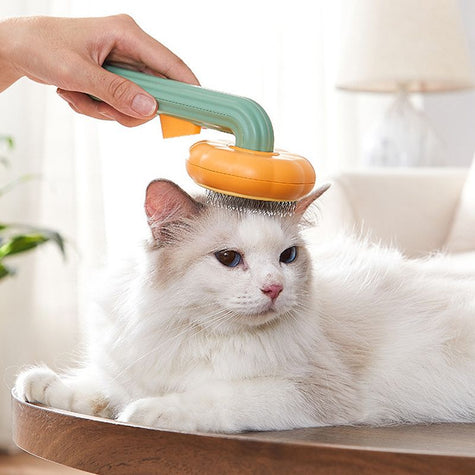
For brushes, the fix is often simpler than people expect: warm water, mild soap and a comb run through the bristles clears most buildup. A grooming glove suits short-haired pets, removing loose fur from the coat and picking up ingrained hair from fabric. The Pet Hair Removal Gloves Brush doubles as a furniture and car seat tool.
If a tool still underperforms after a full clean, oil and tension reset, the problem is mechanical. At that point, replacement is cheaper than a repair.
Maintaining pet grooming tools is unglamorous work, and it's the difference between kit that lasts years and kit you replace every season. The routine is short: brush after every session, oil the blades, disinfect between pets, store everything bone dry.
At Quanolo, we stock practical pet care products built for exactly this kind of daily use, including detangling brushes and grooming gloves designed to make the routine quicker. With 29,000+ households served and a 4.8 / 5 average customer rating, our range is built to solve the small, recurring annoyances that add up.
Get started with Quanolo and build a grooming kit that holds up.
Frequently Asked Questions
How should dog grooming equipment be stored to prevent rust?
After cleaning, ensure all pet grooming tools are completely dry before storing them. Moisture is the leading cause of corrosion. Use protective cases or a dedicated grooming kit bag with separate compartments to prevent blades from knocking together. For long-term storage, add a silica gel packet to absorb any residual moisture. A light coat of blade oil before storing provides an extra barrier against rust.
What is the best way to lubricate dog clipper blades?
Apply two or three drops of purpose-made blade oil directly onto the cutting edge and into the gap between the blades while the clipper is running. Let it run for a few seconds to distribute the oil. Wipe away any excess to avoid attracting hair and debris. For friction reduction during long grooming sessions, use a coolant spray every 10 to 15 minutes to keep blade temperature down.
How often should I disinfect my pet grooming brushes?
Disinfect brushes and combs after every grooming session, especially if you groom multiple animals. A weekly deep clean is sufficient for a single pet. Remove all hair accumulation first, then wash with warm water and a pet-safe disinfectant. Rinse thoroughly and allow to air dry completely before the next use to prevent cross-contamination and bacterial growth.
Can I sharpen my own grooming scissors at home?
Honing grooming scissors at home is possible with a sharpening stone or a purpose-made scissor sharpener, but it requires practice. The risk of damaging the micro-serrated edges or altering the tension adjustment is high. For expensive shears, a professional sharpening service is usually the safer option. You can extend the time between sharpenings by using your scissors only on clean, dry coats and storing them in a protective case.