

































![1+1 FREE | FineSlice™ - Cuts What Scissors Can’t [Offer Ends Today]](http://quanolo.co.uk/cdn/shop/files/d210079baefb8baec1578f1fec4170f982c0ff80d45b958c27cedc5cde9018c7-500.gif?crop=center&height=475&v=1745786035&width=475)










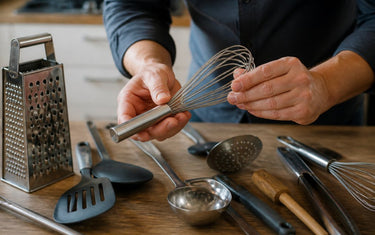
Table of Contents
- Why Most Kitchen Tools Fail Long Before They Wear Out
- Best Materials for Cooking Utensils and How They Age
- Signs of High-Quality Kitchen Gadgets You Can Check in 60 Seconds
- Physical Stress Tests That Reveal Weak Points Before You Buy
- Heat Resistance, Thermal Stability and Non-Stick Coating Damage
- How to Maintain Stainless Steel Kitchen Tools So They Last
- How to Tell If a Kitchen Tool Is Durable: A Quick Buying Checklist
- Frequently Asked Questions
Last Updated: September 14, 2026
Why Most Kitchen Tools Fail Long Before They Wear Out
Most kitchen tools don't wear out, they fail. The distinction matters, because knowing how to tell if a kitchen tool is durable starts with understanding that the weak point is rarely the part you can see. This guide from Quanolo examines the physical evidence that separates a tool built for years of service from one that quietly gives up after a few months.
Stainless steel, food-grade silicone and composite handles all degrade differently, and each leaves telltale signs long before a total failure. The three failure modes below are the ones worth memorising, because each is visible with nothing more than good light and a minute of your time.
The Three Failure Modes You Can Spot by Eye
Material fatigue shows as hairline cracking or discolouration at stress points, usually where the handle meets the head. Corrosion appears as pitting or rust bloom on stainless steel that was never truly corrosion-resistant. Structural integrity loss is the third: a wobbling head, a loose rivet, or a handle that flexes under load. Any of these means the tool is already compromised, regardless of how new it looks.
Best Materials for Cooking Utensils and How They Age
The best materials for cooking utensils are the ones that age predictably. Predictability matters more than any single headline property, because a tool you can read is a tool you can retire before it fails in your hand. Each material family below has a characteristic ageing curve and a characteristic failure mode, learn the mode and you can diagnose a tool in seconds.
Stainless Steel, Silicone, Wood and Composite Compared
| Material | Ages Well When | Main Failure Mode | Early Warning Sign | Typical Service Life | Care Needed |
|---|---|---|---|---|---|
| Stainless steel (304 or 316) | Dried promptly, kept off salt and acid | Pitting and crevice corrosion | Grey speckling or rust bloom at the rivet line | 10+ years with hand washing | Hand wash, dry fully |
| Food-grade silicone | Kept below its rated heat limit | Surface tackiness, then cracking | Chalky bloom or a sticky film after washing | 2-5 years in heavy use | Dishwasher safe |
| Hardwood (beech, maple, teak) | Oiled monthly, never soaked | Splitting and raised grain | Grey, dry surface; grain lifts under the thumb | 1-3 years, or longer if re-oiled | Hand wash only, re-oil |
| Composite (nylon, fibreglass-reinforced) | Fixings stay tight | Cracking at seams and rivet bosses | Hairline crack radiating from a rivet | 3-7 years | Check fixings, avoid open flame |
What Each Material Actually Does Under Load
Stainless steel fails by corrosion, not by bending. Grades 304 and 316 resist most kitchen chemistry, but chlorides, table salt above all, attack the passive chromium oxide layer that protects the surface (Category: Crevice Corrosion). Once that layer breaks down locally, pitting begins and cannot be reversed. This is why a stainless tool that lives in a dishwasher with salty residue ages far faster than one washed and dried by hand.
Food-grade silicone fails by thermal fatigue. Silicone is stable across a wide range, but repeated excursions past its rated limit cause the polymer cross-links to break down. The first sign is a tacky or chalky surface; the second is cracking at the thinnest section, usually the edge of a spatula head. A silicone tool that has gone tacky will not recover.
Wood fails by moisture cycling. Wood swells when wet and shrinks as it dries, and each cycle opens the grain a little further. A wooden spoon that has gone grey and dry has lost its surface oils and will soon lift grain, harbour bacteria in the opened pores, and eventually split along the grain line.
Composite handles fail at the fixings. Nylon and fibreglass-reinforced composites are tough in the body but concentrate stress at rivet bosses and moulded seams. A hairline crack radiating from a rivet is the classic composite failure, and it propagates quickly once started.
When to Replace Rather Than Repair
A useful rule of thumb: replace when the failure mode has reached the surface. Pitting on stainless, tackiness on silicone, raised grain on wood and a visible crack at a composite rivet are all end-of-life signals. Loose rivets on a metal tool can sometimes be tightened; a split wooden spoon or a cracked composite handle cannot be repaired safely and should be retired.
Material-Specific Failure Modes at a Glance
- Stainless steel: pitting, crevice corrosion at rivets, rust bloom, caused by chlorides and prolonged moisture
- Silicone: tackiness, chalky bloom, edge cracking, caused by repeated overheating
- Wood: grey dry surface, raised grain, splitting, caused by moisture cycling and skipped oiling
- Composite: hairline cracks at rivets, seam separation, caused by stress concentration and heat
Reading the failure mode tells you both what went wrong and whether the tool is worth replacing with the same material or a different one.
Signs of High-Quality Kitchen Gadgets You Can Check in 60 Seconds
The fastest durability check is weight and balance. A tool that feels unnaturally light for its size usually has a hollow handle or thin gauge metal, both of which signal a short lifespan. Pick it up, turn it over, and look at the join between handle and head.
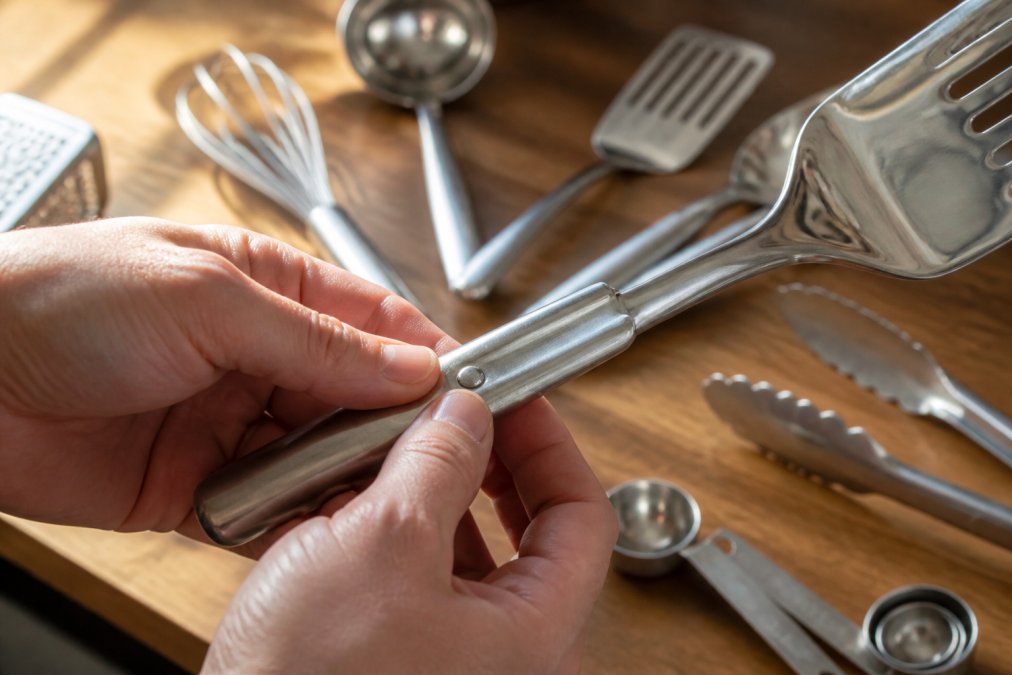
Handle Construction: Riveted vs Moulded
Riveted handles expose their fixings, so you can see whether the rivets are flush and tight. Moulded handles hide the join, which looks cleaner but makes early failure harder to spot. Neither is automatically better, but a riveted handle that has worked loose is a clear warning sign, while a moulded handle that has started to separate is usually beyond repair.
Run your thumbnail along the seam where the handle meets the metal. If you can feel a lip or gap, moisture will get in and corrosion will follow. A well-finished tool feels seamless under your nail.
Physical Stress Tests That Reveal Weak Points Before You Buy
A quick flex test tells you more than any label. Grip the handle and head, then apply gentle opposing pressure. A durable tool resists with almost no movement. A weak one flexes, clicks, or shifts at the joint. What follows is the same sequence a quality inspector would run, with the mechanism behind each check and a pass/fail threshold you can apply in the shop.
The Five-Point Inspection, In Order
1. Flex test at the handle-head join. Hold the head in one hand and the handle in the other, then push the ends apart with moderate force. Pass: no perceptible movement. Fail: any visible flex, click or shift. The mechanism is simple, a joint that moves under hand pressure is already relying on friction rather than mechanical fixing, and friction loosens with every use.
2. Balance point. Rest the tool across one finger and find where it balances. Pass: the balance point sits closer to the working end than the handle. Fail: it balances at or behind the midpoint. A handle-heavy tool forces your wrist to work against the load, which accelerates fatigue at the join.
3. Surface finish under the fingertip. Run a fingertip along the full length of the tool, including edges and the inside of any curve. Pass: smooth and even, with no ridges or flashing. Fail: rough patches, sharp edges or visible casting lines. Rough finishes are stress risers, microscopic notches where cracks begin.
4. Weight-to-size ratio. Compare the tool against a similar one of known quality. Pass: it feels dense and solid for its size. Fail: it feels unusually light. Lightness in a metal tool almost always means thinner gauge or a hollow handle, both of which reduce stiffness and shorten service life.
5. Rivet and seam tightness. Press each rivet with a thumbnail and run the nail along the seam where handle meets head. Pass: rivets are flush and immovable; the seam feels continuous. Fail: any rivet that rocks, or a seam you can catch a nail in. A gap at the seam is a moisture trap, and moisture at a joint means corrosion from the inside out.
What the Tests Cannot Tell You
These checks reveal structural weaknesses, not material grade. A tool can pass every physical test and still be made from a low-grade alloy that will pit within a year. Use the physical inspection to filter out obvious failures, then confirm the material specification separately, grade, heat rating and food-contact certification. The two checks are complementary, not interchangeable.
A Note on Destructive Testing
You cannot bend a tool to destruction in a shop and still buy it, so the flex test is deliberately gentle. The principle is that a well-built tool shows no movement under light load; if it moves under light load, it will move more under heavy load. Treat any movement as a fail and move on.
That's the theory. Here's what actually happens in a shop: most people test the blade or the head and never touch the handle, which is where the majority of failures begin.
Heat Resistance, Thermal Stability and Non-Stick Coating Damage
Heat resistance describes how much temperature a material can take before it deforms. Thermal stability is the related property of holding its shape and chemistry across repeated heating and cooling. A tool can survive one hot pan and still fail after fifty cycles, which is why thermal stability matters more than a single heat rating.
Non-stick coatings are the most vulnerable part of any coated tool. Metal utensils scratch the surface finish, and once the coating is breached, the underlying metal corrodes faster. Silicone and wood are the safest choices for coated cookware. If a coated tool has visible scratching, the coating is already failing, and continued use will speed up its decline.
Never test heat resistance by leaving a tool in a hot pan to see what happens. A silicone or composite handle that softens once has lost structural integrity permanently, even if it looks fine after cooling.
How to Maintain Stainless Steel Kitchen Tools So They Last
How to maintain stainless steel kitchen tools comes down to three habits: wash by hand where you can, dry immediately, and avoid prolonged contact with salt and acidic foods. Corrosion on stainless steel is almost always a maintenance problem, not a manufacturing one.
A common mistake is leaving tools to soak overnight. Even brief exposure to salty water starts the pitting process, and pitting is irreversible. Rinse, wash, dry, and store. For the maintenance side of your kitchen, a guide to food-safe materials from the Food Standards Agency is a useful reference for what belongs near food and what doesn't.
How to Tell If a Kitchen Tool Is Durable: A Quick Buying Checklist
How to tell if a kitchen tool is durable in practice means running the same checks every time, in the same order. Use this list before you buy, and again when you're deciding whether to keep a tool you already own.
- Does the tool feel appropriately heavy for its size?
- Is the handle-head join tight, with no flex or gap?
- Are rivets flush and firm, or is the moulded seam clean?
- Is the metal grade stated as 304 stainless or better?
- Does the surface finish feel smooth, with no rough edges?
- Is the silicone labelled food-grade and BPA-free?
- Does the tool balance toward the working end?
- Is it dishwasher safe, or does it need hand washing?
If you're replacing tools that have already failed these checks, Which? guidance on buying kitchen equipment is a helpful starting point for judging quality claims before you spend.
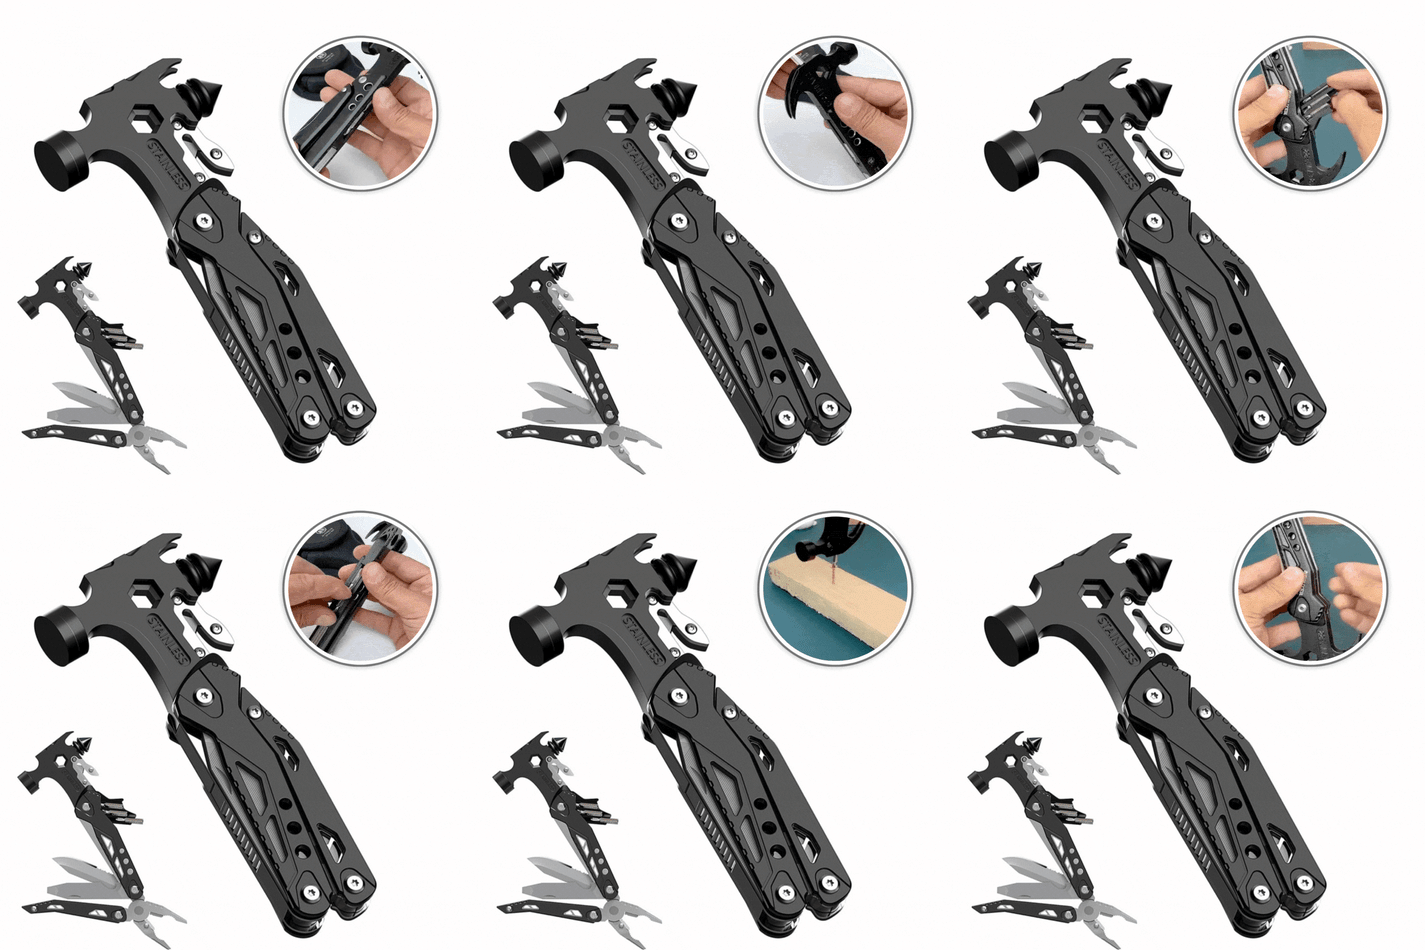
Most kitchen tools fail at the handle, not the head, and that failure is almost always visible before it happens. At Quanolo, we've built our range around tools that pass these checks, from the AllHammer™ multi-tool with its stainless steel construction to the SuperDisc™ cutting disc, both designed for the kind of repeated use that exposes weak materials. With 29,000+ households served and a 4.8 / 5 average rating, we've made durable design accessible rather than premium-priced. Shop now and choose tools that hold up to the way you actually cook.

Frequently Asked Questions
Which kitchen utensil materials are the most durable?
Stainless steel and food-grade silicone last longest in most kitchens. Stainless steel resists corrosion, holds its shape under heat and takes years of daily use, especially in tri-ply construction where layers bond for even heat distribution. Silicone handles high temperatures without warping and will not scratch non-stick coating. Wood and bamboo feel good in the hand but are porous, so they absorb moisture and need oiling to prevent cracking. Composite tools sit in the middle: lighter than steel, tougher than cheap plastic.
What are the signs of high-quality kitchen gadgets?
Look at weight, joint construction and surface finish. A durable kitchen tool feels balanced rather than hollow, has riveted or moulded handles that do not flex when you twist them, and shows no seams, burrs or uneven coating. Check for warp-resistant edges, a handle that stays cool, and dishwasher-safe labelling. If a tool bends slightly under hand pressure in the shop, it will bend permanently under daily cooking. Test the flex point before you pay.
Is stainless steel always more durable than plastic?
No. Low-grade stainless steel can dent and corrode faster than a well-made composite, and cheap plastic tools often snap at the neck within months. The difference is grade and construction, not the material name alone. Look for thicker gauge steel, secure handle joins and no visible porosity. Plastic can be durable when it is heavy-duty and reinforced, but it scratches more easily and can leach chemicals if heated past its rating. Match the material to the job.
How do you maintain stainless steel kitchen tools so they last longer?
Wash by hand with warm soapy water and dry immediately to prevent water spots and surface corrosion. Avoid soaking tools in the sink overnight, and skip abrasive scourers that scratch the finish and create spots where rust can start. If your tools are dishwasher safe, use a low-heat cycle and remove them before the drying phase. A light rub with a soft cloth and a drop of mineral oil on hinges keeps moving parts smooth and extends cooking utensil longevity well beyond the average.